Keep Fall Harvests Organized From Load to Storage
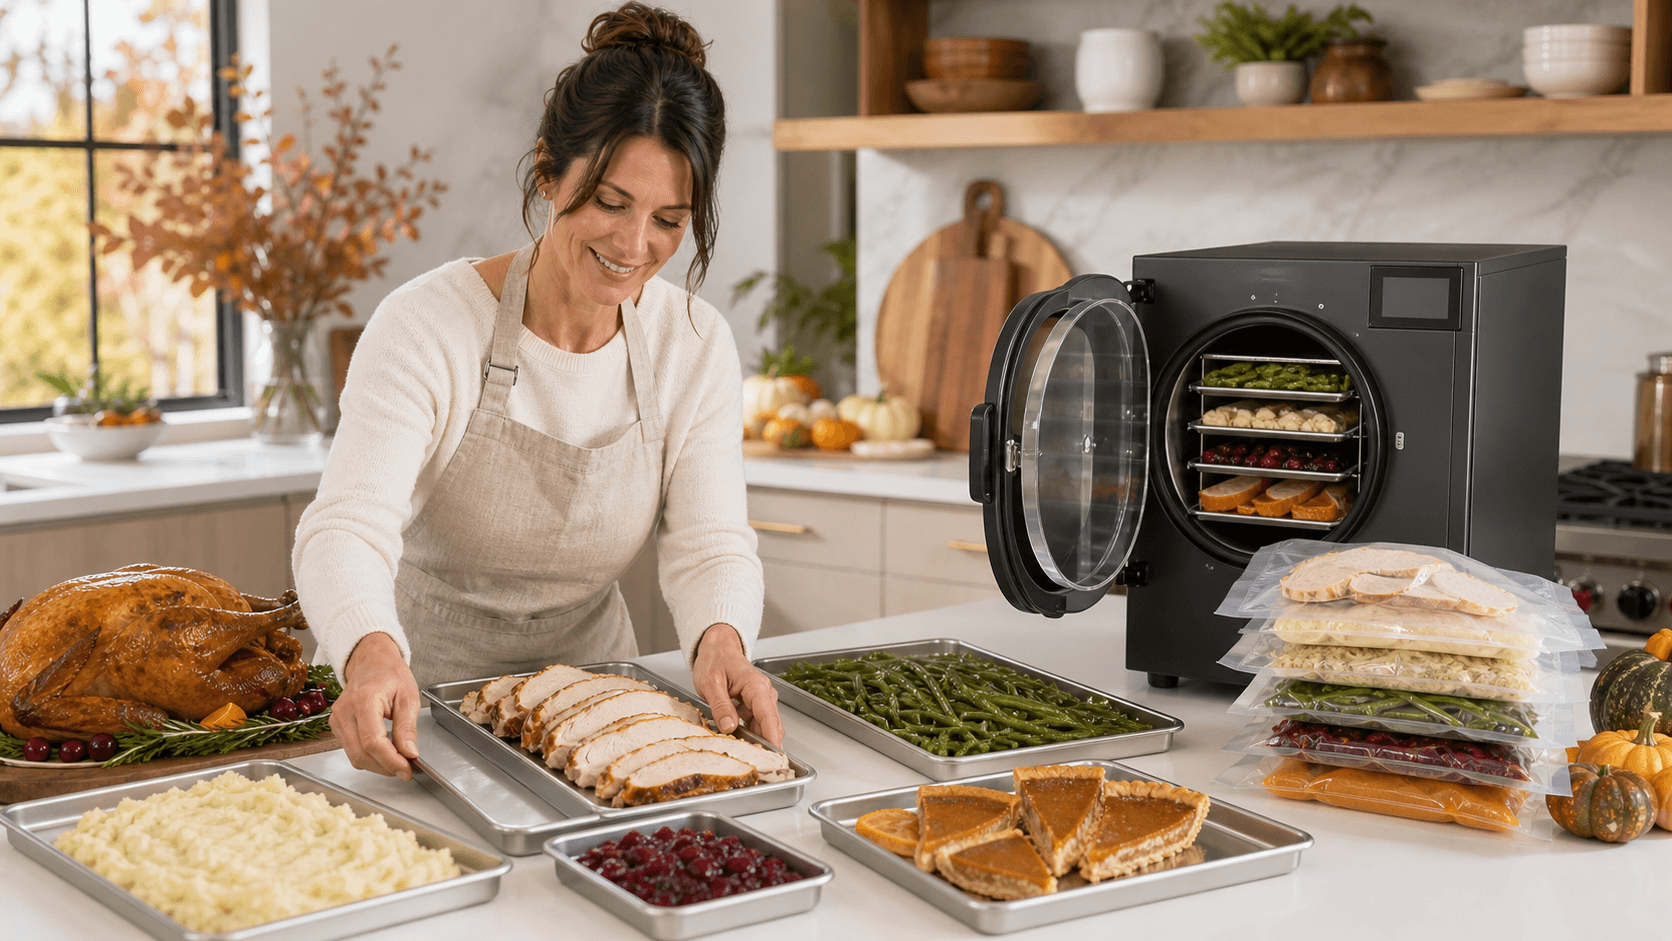
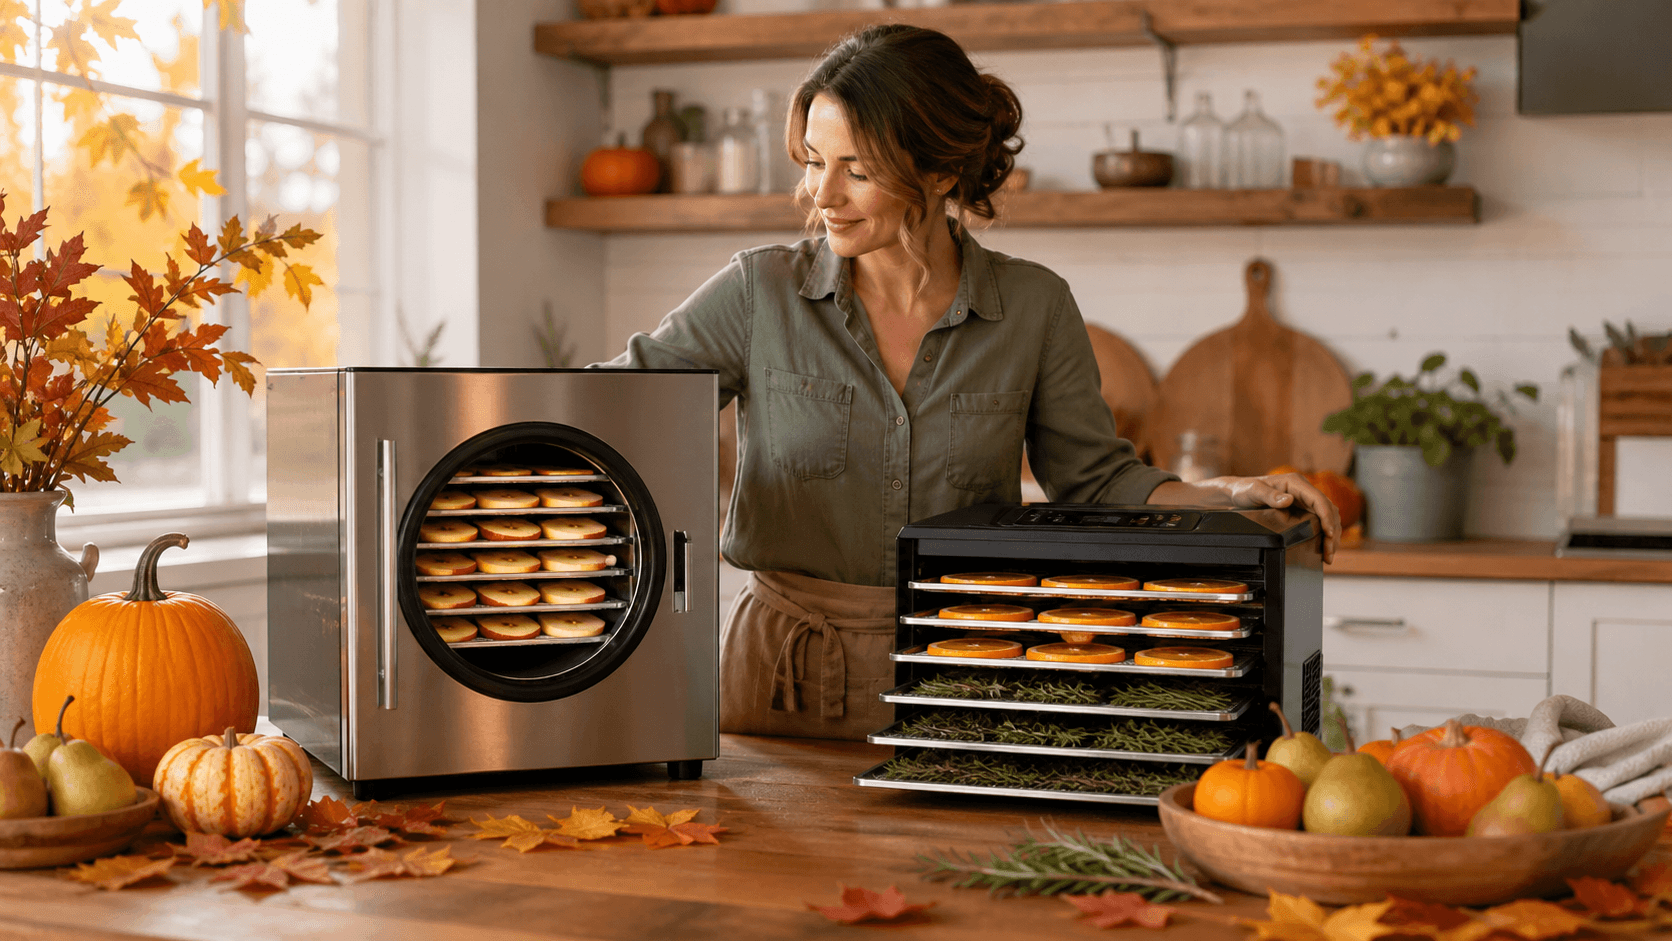
Busy fall food preservation can turn a kitchen into a tray-balancing act. When you are working through garden produce, seasonal fruit, holiday leftovers, and pantry supplies, it is easy to crowd the counter, lose track of a prepared tray, or wonder what is ready for the Harvest Right freeze dryer.
We recommend setting up a simple system before the food prep begins. Freeze dryer tray stackers give each tray a clear place to wait, helping you plan batches, separate foods, and keep the path from slicing to packaging much calmer. A good routine starts with choosing compatible organizers, then builds in clean staging, clear labels, and proper storage between sessions.
Choose Stackers That Match Your Harvest Right Setup
Not every tray organizer will suit every Harvest Right setup. Before adding freeze dryer tray stackers to your prep area, measure your trays, the counter space near the machine, and the cabinet or shelf where the stackers will live between batches.
A good stacker should hold trays level without crowding the food. Look for a sturdy, easy-to-clean design with enough room between levels so delicate slices, sticky meals, or piled ingredients are not bumped when you move a tray.
We suggest thinking about your usual batch size, not just your biggest harvest day. A smaller system may be plenty if you freeze dry a few meals each week. If you preserve garden produce in bulk or build longer-term food storage, a larger staging area can keep the process from spilling across every available surface.
Keep these basics in mind when choosing your setup:
- Match the organizer to your specific tray dimensions.
- Leave room for safe loading and unloading near the freeze dryer.
- Choose surfaces that can be cleaned easily after food prep.
- Follow Harvest Right guidance for tray use and avoid overloading trays or stackers.
Set up a Faster Tray Loading Station
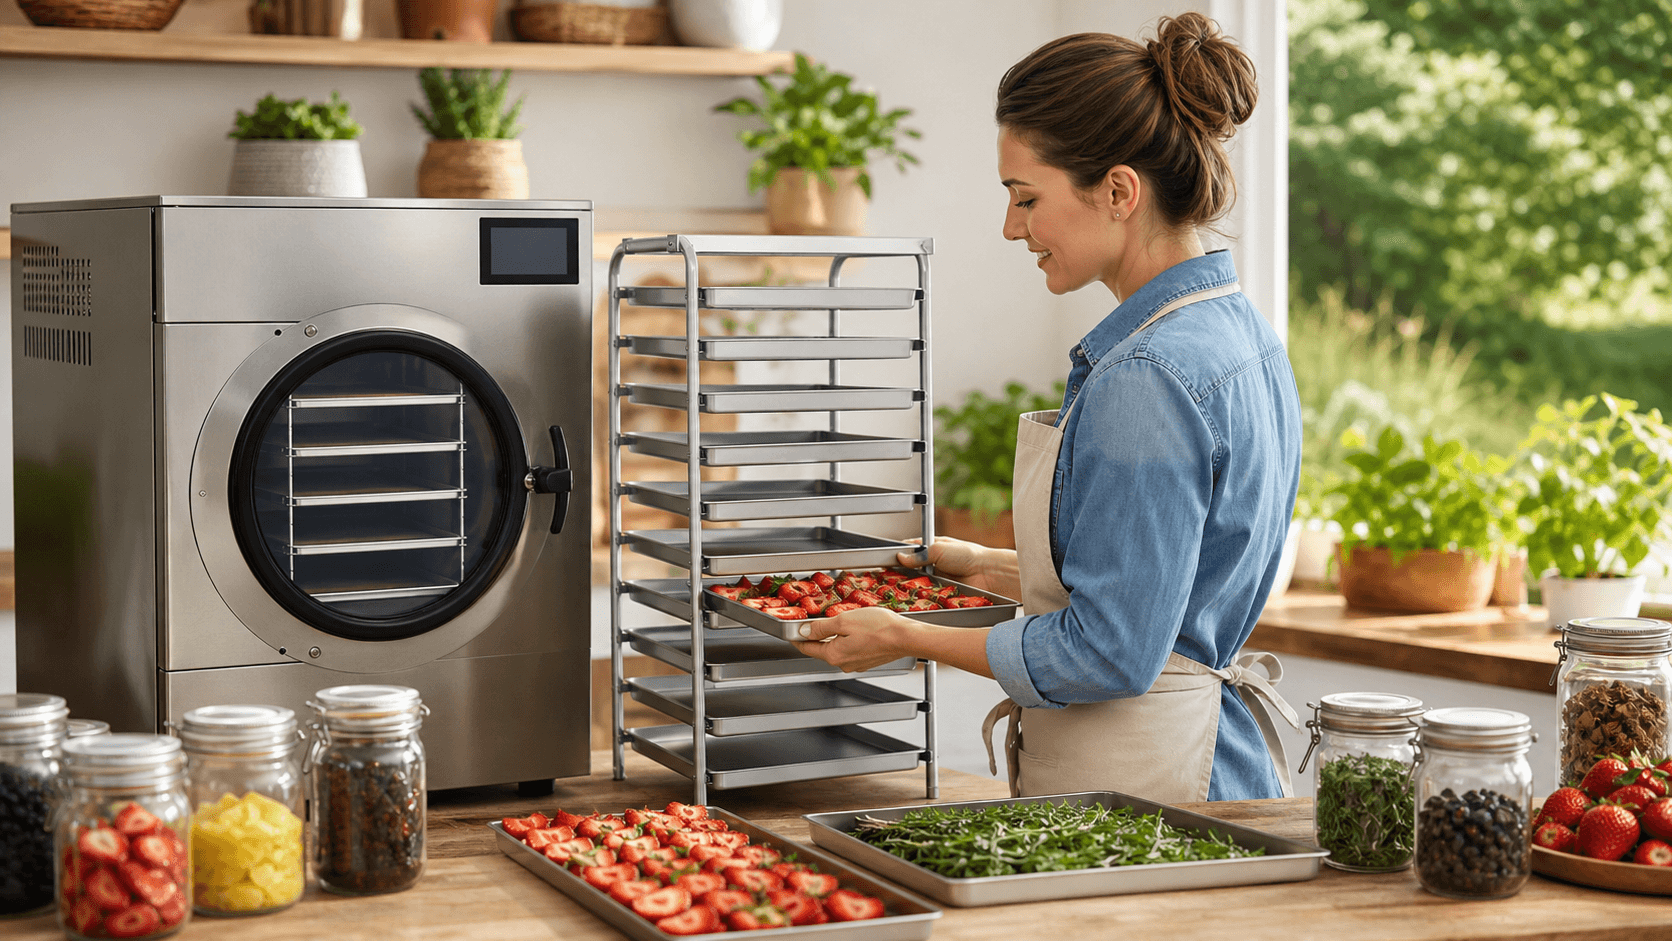
A dedicated prep station gives every tray a job before it goes into the freeze dryer. We recommend placing your stackers on a clean, stable surface near the machine, but not so close that they block doors, controls, or your walking path.
The simplest layout separates trays by status. One area can hold clean, empty trays. Another can hold prepared trays waiting to load. After the cycle is complete, move finished food to a separate packaging zone so it does not get mixed in with food that still needs processing.
While you prep, spread food in even layers and leave space between pieces when possible. This makes it easier to spot a tray that is too full or has uneven portions. Wet, saucy, or sticky foods need extra care so they stay contained and do not drip onto nearby trays.
An orderly station also makes pauses less stressful. If you need to step away to wash produce, prepare another ingredient, or clear space for holiday cooking, you can return and know exactly where each batch stands.
Build a Batch Workflow That Prevents Mix-Ups
Similar-looking foods can be surprisingly hard to identify once several trays are lined up. Apples and pears, mixed vegetables, leftovers, and test batches may all look alike at a glance. Labels remove the guesswork before it becomes a packaging problem.
We recommend marking each tray with the food name, preparation date, and any useful batch notes. You may also note whether food was pre-frozen, whether it contains a strong seasoning, or whether you are testing a new portion size. Keep labels clear and easy to remove without leaving residue behind.
Grouping foods by flavor and intended use can make later storage easier, too. Fruits usually belong together, while strongly flavored meals or ingredients are best kept separate from mild foods. This helps you plan packaging and reduces confusion when several finished trays are ready at once.
A simple batch checklist can include:
- Food name and preparation date
- Tray number or stacker position
- Notes about pre-freezing or special ingredients
- Packaging status after the cycle is complete
Clean trays between uses, and use clean hands or utensils during prep. Once a cycle finishes, package food promptly according to the guidance for your storage materials and food preservation plan. That final step keeps your staging area open for the next batch instead of becoming a holding zone for finished food.
Store Tray Stackers Between Seasonal Runs
After a busy preservation season, tray stackers deserve the same attention as the trays themselves. November projects can leave behind crumbs, sticky spots, food splashes, and lingering odors from holiday ingredients or late garden leftovers.
Start by cleaning the stackers according to their material and care directions. Let every surface dry completely before putting anything away. Moisture trapped in a stored organizer can create an unpleasant surprise when you pull it out for the next round of freeze drying.
Store the stackers indoors in a clean, dry spot where they are protected from dust, pests, and moisture. Keeping them near your Harvest Right accessories, packaging supplies, and labels can save time when the next harvest, sale on produce, or meal-prep weekend arrives.
A quick inspection before and after storage is worth the effort. Look for cracks, warping, loose parts, or surfaces that no longer clean well. Replacing a worn organizer before a major batch helps keep your prep area dependable and easier to manage.
Put an Organized Freeze Drying Routine to Work
The best freeze dryer tray stackers are part of a full routine, not a stand-alone fix. When clean staging areas, thoughtful batch planning, and clear labels work together, you can move food from preparation to long-term storage with fewer interruptions and fewer mystery trays.
Start with a setup that fits the way you preserve food now, then adjust as your needs change. A few designated tray positions, a simple label system, and a dry storage spot can make the next harvest or holiday preservation project feel far more manageable.
Make Every Freeze-Drying Project Easier
At Green Vista Living, we can help you choose freeze dryer tray stackers that support a more efficient Harvest Right workflow. Our team focuses on practical accessories that help keep trays protected, accessible, and ready for your next batch. If you have questions about selecting the right setup, contact us for helpful guidance.